
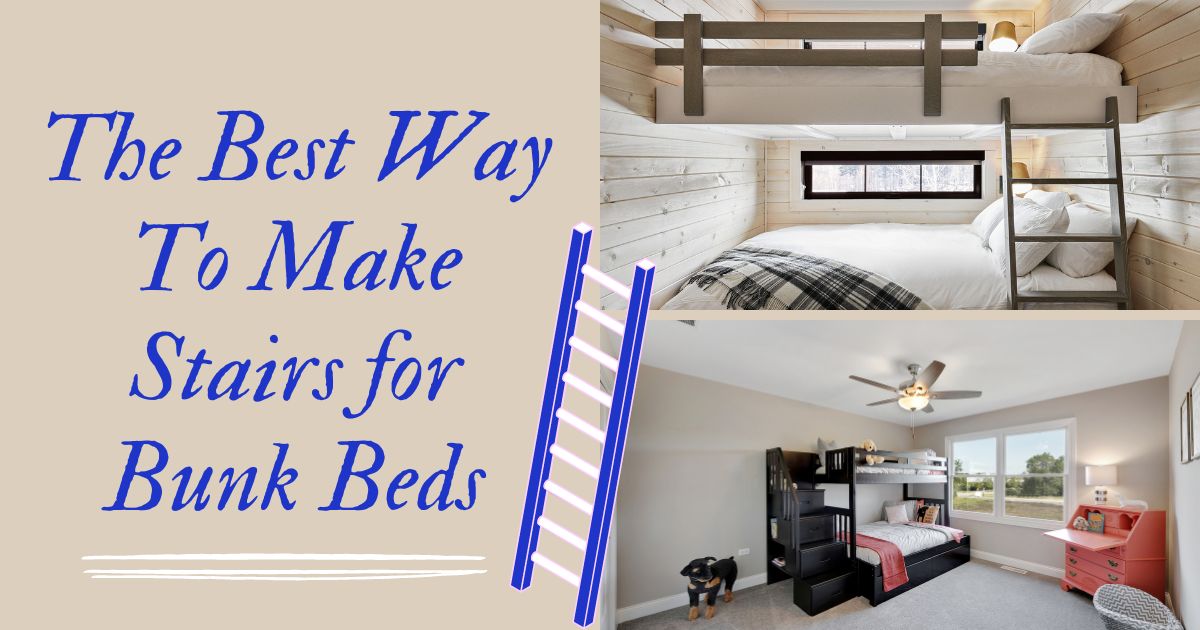
Do you have a large family and need to save up on space? If so, opt for a bunk bed with stairs. However, many people don’t know the best way to make stairs for bunk beds. Since bunk beds can accommodate kids who need to share a room, stairs will help them get to the top.
While purchasing a quality bunk bed with stairs can cost extra dollars, you don’t have to worry. You can make simple DIY stairs for the kid’s bunk bed. For that reason, we have summed up essential tips to help you create classic yet straightforward stairs for the bunk bed.
You will also find the benefits of making bunk bed stairs for your kids. On top of that, you will find safety tips for bunk bed stairs. So, keep on reading to learn more!
Before going further, what are bunk beds? Let’s find out.
What Are Bunk Beds?
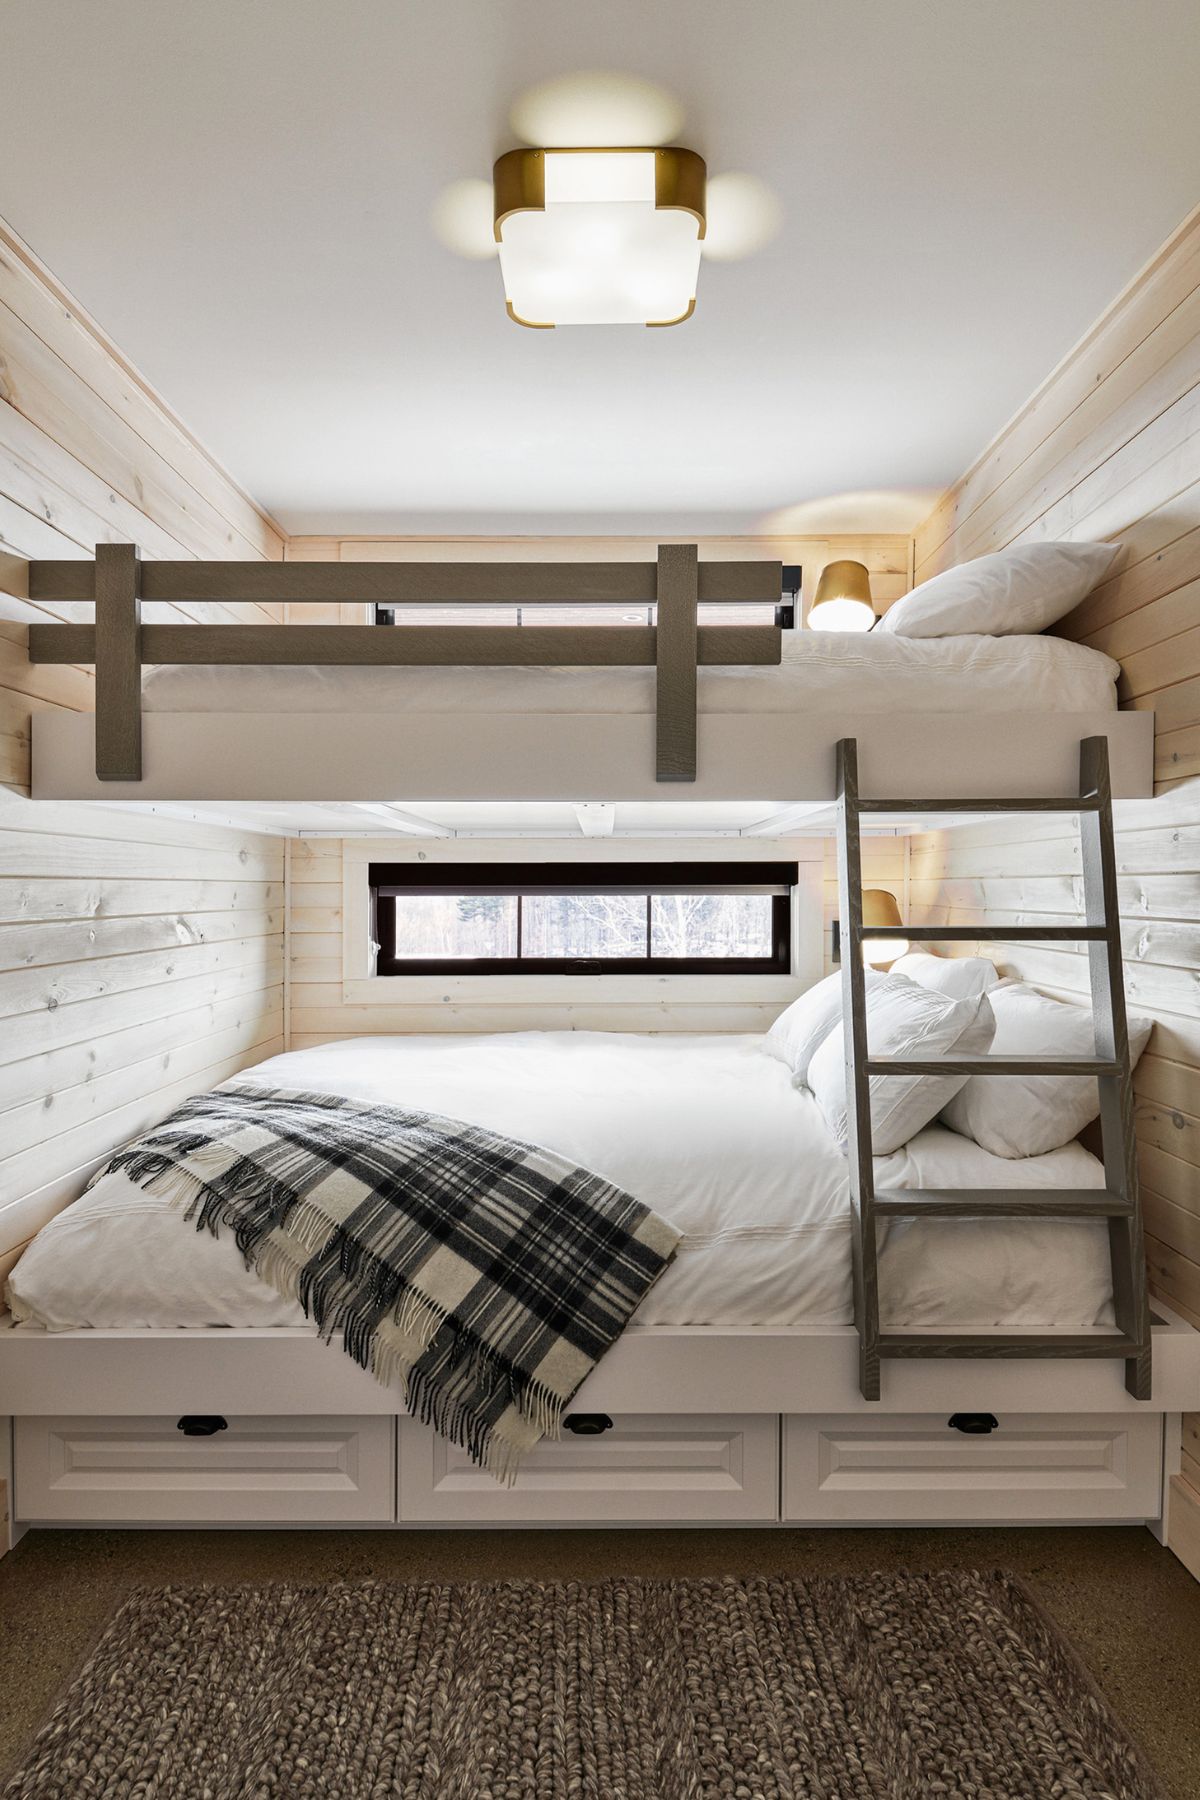
A bunk bed is a piece of furniture where one bed is on top of the other to form a unit. These beds have four pillars or poles in every corner. A ladder or stairs will help your kids climb to the top bed.
Since there are different models, some bunk beds have curtains on the lower bank. On top of that, you can find these beds in hostels, ships, dormitories, prisons, summer, and bedrooms. While saving on space, the top bunk is not suitable for kids under six years.
Why Do Bunk Beds Need Stairs or Ladders?
Whether you want to find more space for your family or guest, bunk beds still need to have stairs or ladders. Read on to find out why they are essential:
Creates a Study Room
The regular beds can be a pain in the neck, especially if you have many kids. To fit in all the kids, you need more beds. Sometimes, this can take up more space or even not fit the living room to put the kid’s study table.
However, bunk bed stairs will save you a mil since they have one bed atop the other. In addition, the space left under the ladder can be a good study area for your kids since you can put books and other reading materials in the drawers. So in the end, you’ll save a lot of space.
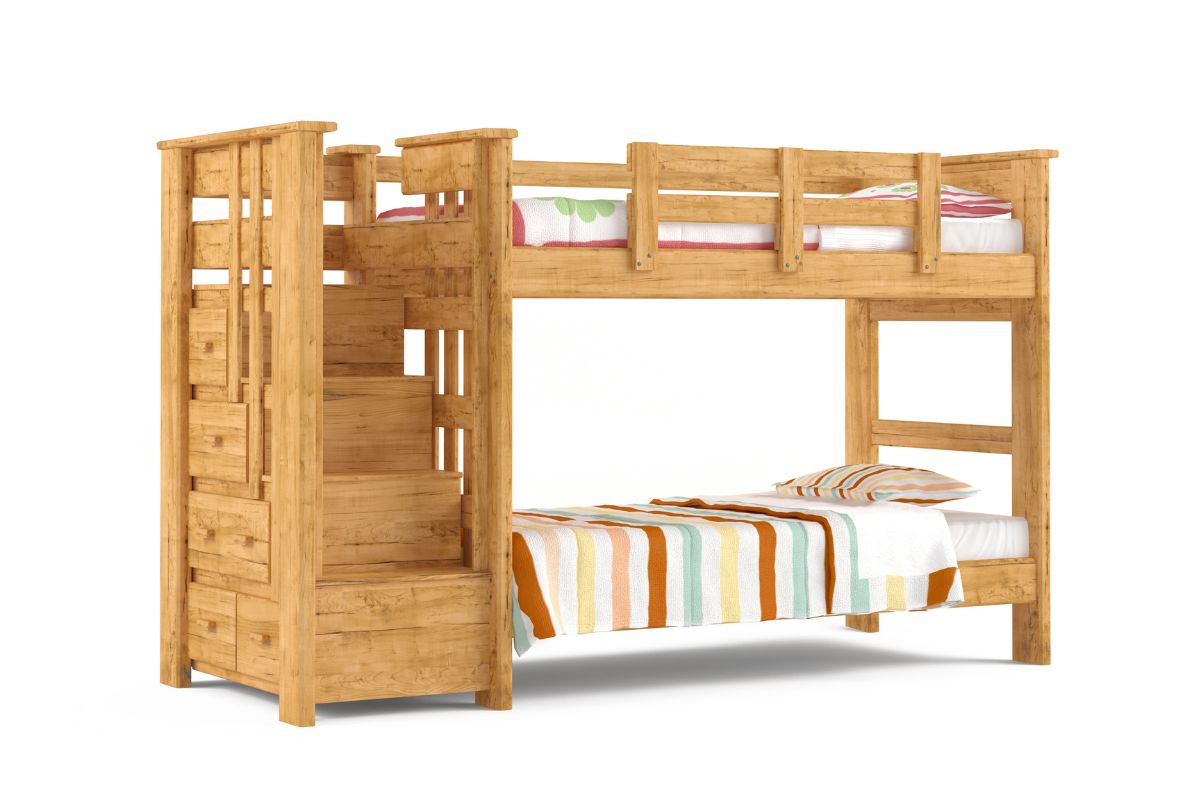
Extra Storage Area
Bunk beds consist of extra storage space on the stairs. Unlike regular beds, some bunk beds come with stairs that have drawers. Bunk beds with stair drawers are essential since you can use them to store books, clothes, or even shoes.
They are Fun
You might be wondering what other work bunk beds do except to sleep. But boy! These pieces of furniture are fun for the kids. The ladder or stairs is a beautiful play area for your kids. Going up and down is what makes everything exciting. Additionally, kids can play games such as hide and seek inside the bunk bed.
Bunk Beds Stairs are Removable
Another reason why bunk beds ladders are advantageous is that they are removable. Sometimes, kids can be playful, resulting in damages or accidents. Also, remember running up and down can make them slip and fall. For this reason, you can remove the ladder until they are old enough.
Bunk Bed Stairs are Safe
When buying or making a bunk bed with stairs, you will create room to add other furniture and enhance a safe environment. Most bunk beds stairs are made with a handrail to surround your child as they climb up.
On top of that, the larger tread creates a perfect balance for your kid. Besides that, both you and your kids will have an easy time climbing up if you want to clean up or put them to sleep.
You Can Fit More Kids in Fewer Rooms
Another advantage of having bunk beds stairs is that you can fit more kids in fewer rooms. This is a good idea, especially for large families. Instead of putting more beds in a room, all you need is one or two bunk beds with stairs and fit your kids. To add to that, it will leave some space to move in and out and also enhance proper ventilation.
Changing Space Needs
Most bunk beds have a structure that will enable you to separate them into two. As much as it saves on space, it can be helpful when you get an extra room for your kids. After sharing for a while, they’ll finally get some space to sleep in their room and bed because you can separate the stairs and the top bed.
On top of that, moving the top bed to an extra room will open up more space on the ceiling, thus free flow of air. Also, it will reduce quarrels among siblings over the sleeping space.
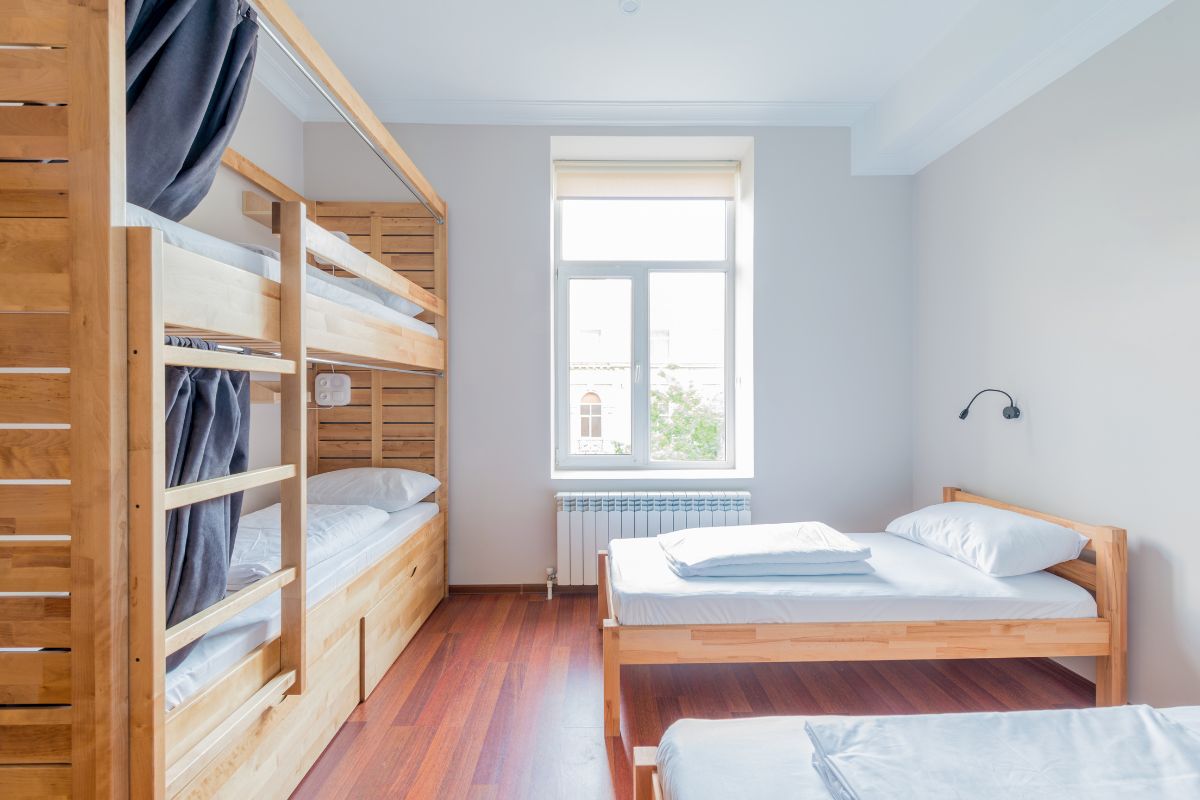
They Provide Privacy in a Shared Room
Well, privacy can be hard to achieve in a single room. But you can have your private time, thanks to bunk beds with steps since one kid can climb to sleep at the top while the other remains at the bottom.
With some clever use of curtains, your kids can shut out the world whenever they want to relax and unwind. Apart from that, you can use some clip-on lamps in the individual spaces. This is a perfect method for kids who love sleeping with lights on.
The Best Way to Make Stairs for Bunk Beds (Step-by-Step Guide)
Bunk beds are the best solution for families who want to save on space. Sometimes, you might buy a bunk bed that lacks stairs. This can be difficult to get to the top, especially for young kids.
Suppose you have a bunk bed that is missing stairs or ladders; no need to worry. These stairs are easy to make, but sometimes they might need more skills. But, don’t think too hard. We have provided you with the best way to make stairs for bunk beds.
Part 1 – Cut the Wood
Step 1
To cut the wood, you need to have proper measurements in place. Therefore, start by cutting the side rails using two by four-dimensional lumber. Ensure that the lumber is of good quality and measures 8 feet (2.4 meters) long.
For better results, take the pieces of lumber to a yard to avoid getting faulty parts. Also, ensure that the lumber is straight by looking at all sides of the wood.
Step 2
Still, find a one by three-dimensional lumber for the ladder rungs on cutting wood. While looking at the dimensions, make sure that you have the right amount at hand. Check the width of the ladder and the number of treads if you are not sure of the measurements. Buy an extra piece of lumber to avoid running to the yard in the middle of the job.
Step 3
Now cut the wood using a hand or power saw. Get a good table saw that will make the work easier, especially if you use two-by-four and one-by-three lumber. While doing this, handle it properly to avoid getting hurt.
If you don’t have a power saw, use a jigsaw. Remember to wear eye and ear protection and keep your hands off the table blade. Furthermore, don’t work while wearing jewelry or loose clothes because they might get caught on the edge.
Step 4
The fourth step is to construct upright stairs. To do this:
- Create a 15-degree.
- Mark the angle on the side at one end in each piece of the lumber.
- Cut carefully with your hand or power saw.
Step 5
If you want to create a stair-like structure:
- Use a 30-degree angle.
- Apply the same process to cut and mark the two by four pieces with a greater angle.
- While using a 30-degree angle, be sure that it will protrude out in the room.
Step 6
Use sandpaper to smoothen the surfaces and saw cuts. Ensure that the sandpaper is medium-grit on all the cuts. Smoothening is essential because it will reduce the chances of cutting your hands or fingers.
It will also improve the appearance of the staircase. After smoothening, wipe away any dust with a damp piece of cloth. While doing this, don’t forget to wear eye protection and a dust mask.
Step 7
Measure the width of your stair treads. For instance, if you have a wooden bunk set, you will have to attach the ladder to the inner sides of two vertical posts that form a corner of the bed or support the upper bunk’s protective rail.
Furthermore, measure the distance between these posts, then subtract 3 inches (7.6 centimeters) to get the actual measurements for the trails. The best width to go with is between 16 and 18 inches (41 and 46 centimeters).
Step 8
From the one-by-three lumber, cut the stairs treads to the appropriate length. Next, use the measurement between the bed’s support posts for the width of your treads. After that, mark and cut eight treads. Use seven out of the eight impressions and leave one for emergency purposes.
Part 2 – Attach the Side Rails to the Bed
Among the best bunk bed plans with stairs is to attach side rails on the bed.
Step 1
To attach the side rails to the bed:
- Position each rail to a spot that will enable it to attach to the bunk set.
- Angle a side rail towards the upper bunk, so its bottom angled cut is flat on the floor.
- Find help to place it in position against one of the two vertical support posts on the bed.
Step 2
Mark the tops of the side rails, and when you’ve placed it in position against the vertical post, trace the edge of the vertical post to the side rail so that you can cut it with the post. Repeat the process with the other side rail against the other support post for better results.
Step 3
Before cutting the side rails at the top markings, position them side-by-side to ensure equal length. Position and mark them again.
Step 4
Drill pilot holes into the side rails and put one of the cut side rails into position. While doing this, ensure that the bottom is cut flat on the floor and its top cut matches with the correct vertical support post.
Again, drill the three holes into the side rail, using a slightly thinner drill than the 3 inches (7.6 centimeters) wood screw to attach the rails to your bunk bed. Lastly, repeat with the other side rail against the other support post.
Step 5
Attach both rails to their support posts, then counter-check to ensure that the rails are in their correct positions. After that, drive 3 inches (7.6 centimeters) of wood screws through the holes you drilled earlier on the support posts.
Part 3 – Securing the Stair Treads in Place
Step 1
Position the bottom tread at the base of the side rails, then lay one of the treads that you cut previously on the floor between the side rails. After that, mark its height on the side rails to center the pilot holes. Move the tread away after making the markings. Put the bottom rail on the ground to provide support.
Step 2
Drill the holes and attach the bottom rail. Make two holes per side through the rails with a slightly thinner drill bit. Put the tread on the floor and drive the four screws through the pilot holes and into the tread. If you want to cover the screw heads, use a countersink bit.
Step 3
Mark the spacing for the remaining treads on the side rails. Along each side rail, measure the distance from the top of the bottom thread to the top of the upper bunk’s bed deck. Divide this measurement by six, then use this result to mark the location for each tread along both rails.
Step 4
Mark the leveled position for each tread on the side rails. While moving from the top-down or bottom-up, hold a cut tread centered between a set of the spacing positions that you marked previously.
Use a bar level to ensure the tread is straight (width and depth). Mark, it’s top and bottom positioning against the inside of both side rails.
Step 5
Drill pilot holes and screw the remaining threads in the correct position. Next, use your markings to drill pilot holes through the side rails. To confirm the positioning, use a level and secure each tread to the rails with 2.5 inches (6.4 centimeters) wood screws. You can find help from a friend or relative to make the work easier.
Part 4 – Sanding and Finishing the Ladder-Stairs
Step 1
To sand and finish the stairs, apply wood filler to cover the depressed screw heads. Use a small knife to apply the filler into the depressions created by your screw heads for better results. This will also be effective for any knots or imperfections in the wood.
After doing that, remove the excess filler, making sanding easier later. Also, you need to follow the application instructions to enhance proper drying. Finally, leave the screw holes open if you want to remove the ladder in the future.
Step 2
To sand, use a piece of sandpaper and the entire wood surface with light and mild pressure until the wood feels smooth. If you use a wood filler, wait until it’s completely dry before sanding it. Additionally, you can sand while applying extra pressure to remove excess filler. For your safety, wear a dust mask and eye protection when sanding.
Step 3
Wipe away sanding dust with a damp cloth. To get rid of the dust. Simply wipe down the surface until you can run your fingers on it without accumulating dust.
Step 4
Stain or paint the stairs to match the bunk set. If you’re painting the wood, apply a primer first and then the coats of your chosen paint. If you’re staining the wood, first apply a small amount in a small area to check the color.
Then use a brush to apply the stain, and wipe away the excess with a cloth. To retain a natural look, you can still apply a clear wood sealant, using the same techniques used while staining.
Equipment and Tools Needed to Make Stair Bunk Beds
Now that you know different ways to make stair bunk beds, you need to have the right tools and equipment:
- Drill and drill bits
- Medium grit sandpaper
- Nail gun
- Kreg jig
- Milter saw
- Pipe clamps
- Table saw
- Tape measure
- Sander and sandpaper
- Screwdrivers
- 2 x 4 x 8 feet (0.6 by 1.2 by 2.4 meters) dimensional lumber
- 1 x 3 x 8 feet (0.6 by 0.9 by 2.4 meters) dimensional lumber
- 3 inches (7.6 centimeters) wood screws
- 2.5 inches (6.4 centimeters) wood screws
- Power or hand saw
- Wood filler
- paint or stain
How to Make a Bunk Bed Stairs Safe
By now, you are familiar with the steps used to make a ladder for lofted beds, but you need to make it safe, especially if you have young children. To make a ladder or staircase safer, follow these tips:
Put a Tread Cover on the Bunk Bed Ladder
A tread is essential because it will provide an extra grip and padding to enhance comfort. Treads aid in reducing the chances of slipping when climbing to the top of the bed. Since they come in rubber and leather material, you can easily replace them.
Rubber treads are durable and have a non-slip surface safe for young children. To install the rubber treads, open the packaging and put them on the ladder steps near the front. Then, use glue to seal the rubber tread covers. Also, don’t forget to clean regularly with a mild detergent to remove dust and dirt.
Make Your Own Pool Noodle Ladder Cover
The second step to make your bed ladder safer is to make your own pool noodle ladder cover. Generally, bed bunk ladder or staircase covers tend to be costly. But with a simple DIY pool noodle ladder cover, you will end up saving money.
To make a pool noodle ladder cover, purchase a good quality pool noodle, glue or duct tape, and scissors. If you don’t want all the work, buy a pool noodle cover that will fit the steps. Cut the pool noodle horizontally, then cover each ladder rung with the pieces. Finally, use tape or glue to close the tips of the cover.
You can further decorate the cover using bright formic sheets and wrap it with duct tape to make it less slippery. While doing this, make sure that it provides a comfortable grip. Also, you can put your kid’s favorite stickers.
Place the Padded Anti-Slip Tape on the Ladder
Another way to make the ladder safe is to put padded anti-slip tape on the ladder. An anti-slip tape aids in reducing injuries caused by slippery metal surfaces of a metal bunk bed with stairs.
They come with a vertical neon strip in the center and on the sides to help kids see the edges of the ladder rung when they are climbing the bunk bed ladder or stairs in the dark. With the tape, you don’t need padding since it is very thick, and its balances the unevenness of the ladder’s surface. To install the stairs, clean the ladder using an alcohol cleaner.
Wait for it to dry, measure the steps, and cut the anti-slip tape in the desired sizes. Next, place the back tape slowly on the ladder’s steps while removing the black liner. Don’t forget to peel off the liner; these tapes will not stick on the ladder. Lastly, take a lightweight hammer and press the tape from all sides.
Put Ladder Cushions on All Sides of the Ladder
Most bunk beds’ ladders, corners, and handles are slippery. Therefore you need to use ladder cushions to make the handrails and handles more comfortable. Nonetheless, get good-quality ladder cushions because they work fine at every temperature.
To install the bunk bed cushions on the ladder:
- Measure the steps of the stairs and then cut the cushions to the accorded length
- Cut the ladder cushion and cover the ladder
- Seal the openings using high-quality glue
For the angles, buy large ladder cushions. Next, measure the size of the handles and cut the ladder cushion. Then, remove the ladder from the bed and put the cushions onto the handles.
Cover the Ladder Steps with High-Traction Ladder Rung Covers
Opt for the ladder rung covers if you don’t like the anti-slip tape. Install the rung covers in your bunk bed. Find a specialist because they have special tools such as tapcon, nuts, pop rivets, and self-drilling screws. Ensure that you clean the ladder rung covers regularly with a detergent to maintain bunk bed ladder comfort
Our Top Building Tips for Bunk Bed Stairs
Bunk beds are the best option to save on space. But, on the contrary, they can potentially be hazardous since they require kids to climb stairs. If you desire to build loft bed stairs only, check out the following tips:
- Tip 1: Install a bed rail to brace the bunk bed frame.
- Tip 2: Put the bunk bed stairs in a room with low humidity to prevent wood expansion.
- Tip 3: Disassemble the bed before moving the stairs and bed to your kids’ favorite spot.
- Tip 4: Buy a bunk bed with thick bedposts, low in height.
- Tip 5: Teach your kids how to climb up the stairs to get to the top section of the bed.
- Tip 6: Conduct a monthly servicing to tighten screws and bolts.
- Tip 7: To increase the contact surface area of the bed with that of the floor, add a feed to the bedposts.
- Tip 8: If you are going for the metal bunk beds and ladder, get solid metal posts.
Safety Tips for Using Bunk Beds
If you’ve just added a new member to your family, you may want to get bunk beds to save on space. First, however, you need to follow these safety tips:
- Don’t clutter the bunk bed ladder with clothes because the child will find it hard to climb the ladder.
- Purchase a suitable size mattress for a bunk bed. Buying a mattress that is too large or too small can trap a child in between.
- To avoid head injuries, correctly position the guardrail. Also, ensure that you lift them tightly to avoid falling on the lower bunk bed.
- Put the guardrail on all sides of the bunk bed, especially when positioning the bunk bed on the wall.
- Ensure that the spacing between the guard-rail posts is about 3.5 inches (8.9 centimeters) to prevent kids from squeezing through.
- Bottle the ladder to the bed frame and screw all the sides.
- If you have a lower bunk bed, ensure that the mattress’s size and ventilation are appropriate.
- Don’t forget to keep the night lights on. If so, the child who wants to come down from the top bunk bed can see clearly.
- Don’t allow children younger than six to climb or sleep on the upper bunk bed. If so, installing side guardrails on the upper bunk bed will prevent your children from accidentally rolling down from the upper bunk bed while sleeping.
- Don’t allow young children to use any kind of furniture other than the bunk bed ladder to climb on the upper section of the bed.
Your Hobby, Your Way!
Many people who have kids and live in modest homes often look for different ways to save floor space. This floor space is mainly important when the bedrooms are small. Since the beds take up most of the space, one solution is installing bunk bed stairs.
However, purchasing a good-quality bunk bed with stairs can be costly. So instead of getting bunk bed stairs sold separately, follow the steps outlined above to make simple stairs for your kid’s bunk beds and achieve something similar to those sets pictured in magazines.